
To take better photos using neon light, set your white balance manually for accurate colors, use a low ISO to reduce noise, and select a wide aperture for more light. Manual focus ensures sharper images in low-light settings, and a tripod helps avoid camera shake. Enhance neon’s glow by shooting near reflective or wet surfaces. Experiment with unique angles to highlight vibrant colors and strong shadows. With these tips, you’ll soon create eye-catching neon photos.
Understanding the Impact of Neon Lighting

While neon lighting can seem unpredictable, it creates a bold and distinctive atmosphere that transforms ordinary scenes into vibrant images. Using neon in photography allows you to capture glowing colors that trigger strong emotions. Cool blues might feel soothing or mysterious, while vivid reds and pinks can suggest excitement or passion. Knowing how people react to these colors helps you create more powerful photos.
Neon sign history also shapes the mood in your images. Neon signs have been icons of nightlife and urban energy since the early 20th century. Including them in your photos can add a sense of nostalgia or urban grit.
When you frame your shot, think about how the sign’s design and time period enhance your story.
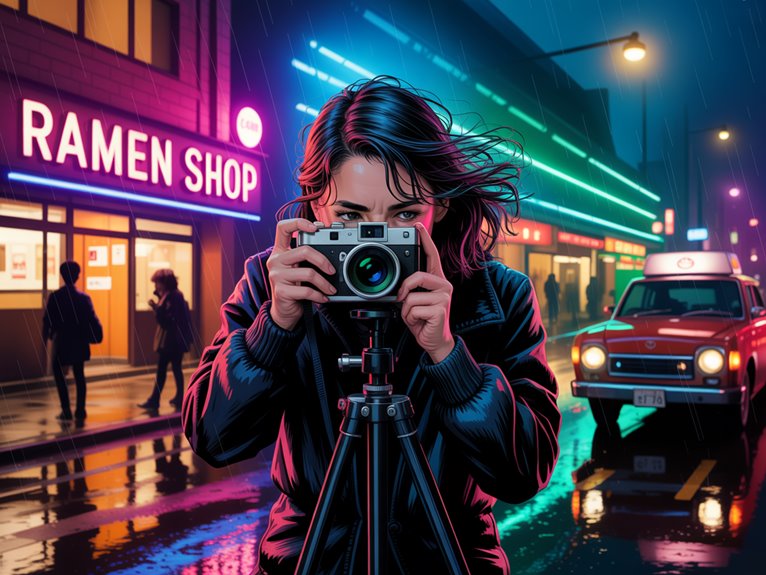
Choosing the Right Camera Settings

To capture neon lights at their best, adjust your camera settings thoughtfully.
Set your white balance manually for accurate neon colors, as auto mode can dull their vibrancy.
Use a low ISO to reduce sensor noise in low light.
Choose a wide aperture to maximize light intake, and steady your camera with a tripod for longer exposures.
Focus carefully on the sharp edges of neon signs for clear, vibrant results.
Balancing Exposure for Vibrant Colors
Once your camera settings are ready, focus on nailing the exposure to make neon colors stand out. Neon lights can easily overexpose highlights or lose shadow detail, so watch your dynamic range closely. Slight underexposure often helps retain color in bright neon areas.
Adjust the color temperature to suit the neon tones—cooler settings boost blues and purples, while warmer ones bring out reds and yellows. Use your histogram to check that highlights aren’t blown out and shadows aren’t lost.
Don’t trust only the camera’s LCD; whenever possible, review your shots on a larger screen for accurate color and exposure.
Mastering Focus in Low-Light Conditions
Even with vibrant neon lighting, achieving sharp focus can be challenging since autofocus often struggles in low light. To address this, switch to manual focus and enable focus peaking if available.
Use the contrast between neon colors and dark backgrounds to help your lens find the subject. Consider the balance of ambient light; too much or too little can make focusing more difficult.
Experiment with aperture—a wider setting allows more light but also reduces depth of field. Remember, neon colors affect photo mood, so use focus to highlight the most expressive parts of your scene.
Composing Creative Shots With Neon Signs

Neon signs easily catch attention, but creative composition transforms an ordinary photo into something memorable. Seek balance in your frame by letting the neon sign enhance, not overpower, your subject. Pay attention to the sign’s bold shapes, flowing text, and glowing edges to guide the viewer’s eyes. Position your subject to interact with these design elements—align them with lines, or use the text to frame their face.
Think about how neon colors affect the mood of your photo. Use contrasting or complementary hues for interest, or stick with one color for a unified look. Try different angles and distances to showcase the sign’s design while keeping your subject clear.
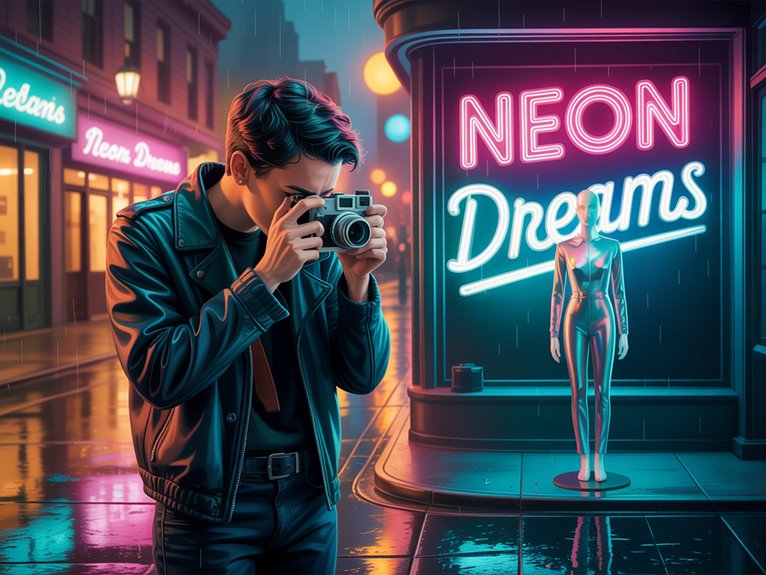
Using Reflections and Surfaces to Enhance Effects

Beyond creative composition, you can intensify neon’s impact by seeking out reflective surfaces. Search for mirrors, windows, puddles, or shiny metal to capture vivid reflections. These surfaces can double the vibrancy of neon colors, adding both depth and symmetry to your images.
Try adjusting your camera angle so neon signs reflect off surfaces, producing surprising patterns and extra visual interest.
Don’t ignore surface textures. Wet streets, tiled walls, and polished tables all react differently to neon light. Each texture scatters and softens the glow in its own way, creating a distinct mood.
Capture how neon twists and bends over uneven surfaces, or how rough textures diffuse the light’s sharpness. Using reflections and a variety of surfaces lets you unlock even more creative neon effects.
Working With Models and Portraits in Neon
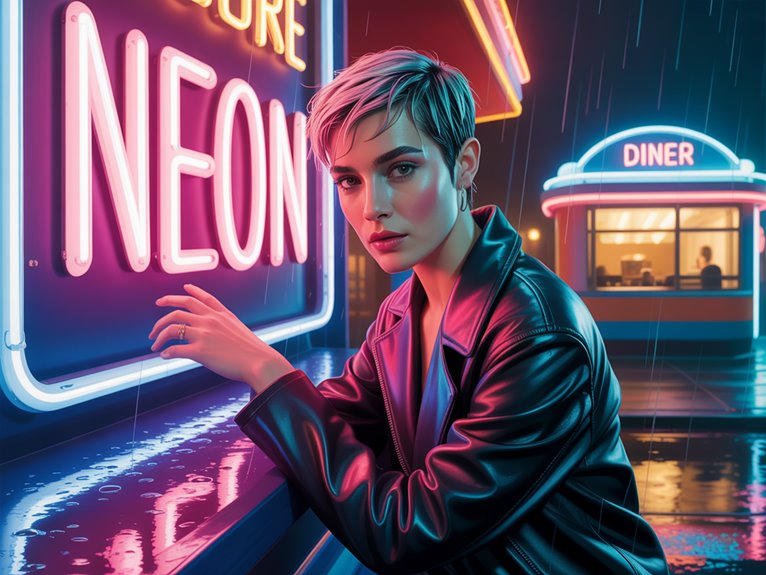
If you want your portraits to stand out, neon lighting offers bold color and dramatic mood that instantly draws attention. Start by choosing neon color palettes that complement your model’s skin tone and wardrobe. Use contrasting or harmonious neon hues for a striking effect.
Position your model near the neon to let the light shape their features and cast vibrant shadows. Try different angles, such as shooting from the side or below, to add visual interest. Suggest poses that interact with the neon, like reaching toward the light or using reflective props.
Encourage genuine expressions, but also explore intense or thoughtful moods that suit the neon atmosphere. With careful preparation, you’ll capture portraits filled with energy and color.
Editing Techniques to Enhance Neon Photos

After capturing your neon-lit shots, editing is essential for enhancing their impact. Adjust exposure and contrast to make neon colors stand out while preserving shadow details.
Use color grading to refine hues—boost neon saturation, but keep skin tones and backgrounds looking natural for balance. Try digital filters to increase vibrancy or set the mood, but apply them sparingly for the best effect.
Sharpen your images to highlight glowing edges and reflections, and use selective adjustments to emphasize key areas.
Finally, crop and straighten your photo for a strong composition. Thoughtful editing will turn simple neon photos into captivating images that showcase both the light and your creative vision.
Conclusion
Neon lights create an exciting backdrop for striking, colorful photos. Try adjusting your camera settings and look for interesting reflections. Explore different angles and get close to your subject—neon glows make colors stand out and add energy to your shots. A bit of editing can enhance the results even more. Head out at night with your camera and let neon lights spark your creativity.


