Create eye-catching DIY neon signs using flexible LED rope lights, which cost much less than traditional neon. Sketch your design first, then gather materials like LED strips ($15-30/ft), mounting clips, and basic tools. After transferring the pattern to a backboard, attach clips along the outline and shape the LED rope to match your design. Using proper safety equipment and electrical connections, you’ll create a stunning illuminated display that transforms any space.
Table of Contents
How to Make a DIY Neon Sign at Home (Beginner Tutorial)
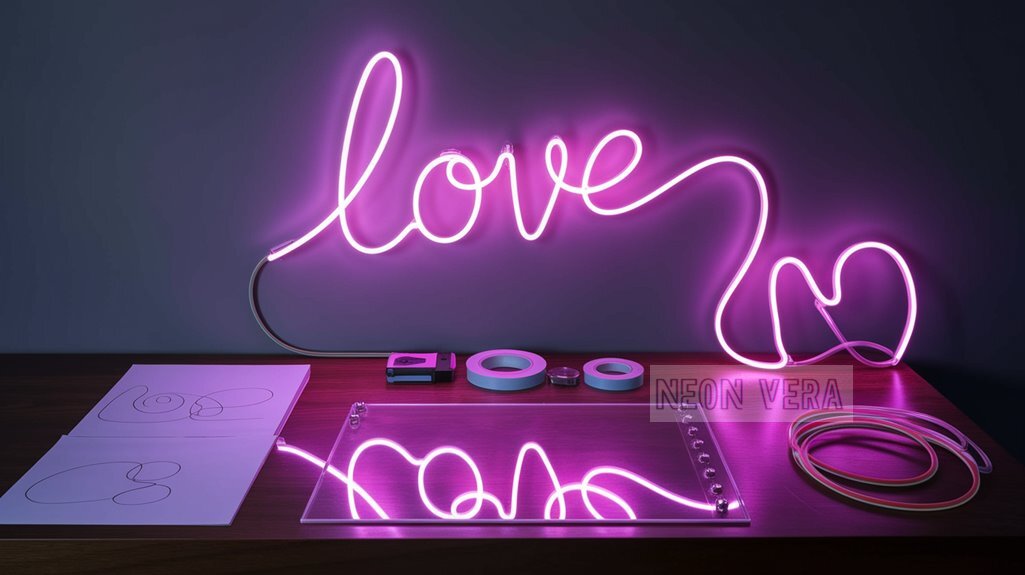
Creating a DIY neon sign is easier than you might think with modern LED alternatives. Neon signs first appeared in the early 1900s, but today’s DIY versions use flexible LED strips to capture that classic look.
To start, sketch your design on paper, then transfer it to a sturdy backboard. You’ll need flexible LED neon rope lights, mounting clips, a power adapter, and basic tools.
Secure the mounting clips along your design, then carefully bend and insert the LED rope to follow your pattern. Connect the power adapter to test your creation.
Begin with a simple design for your first project. Mount the finished sign on clear acrylic backing to create that signature floating effect of vintage neon displays.
Tools You Need for Making Neon Signs
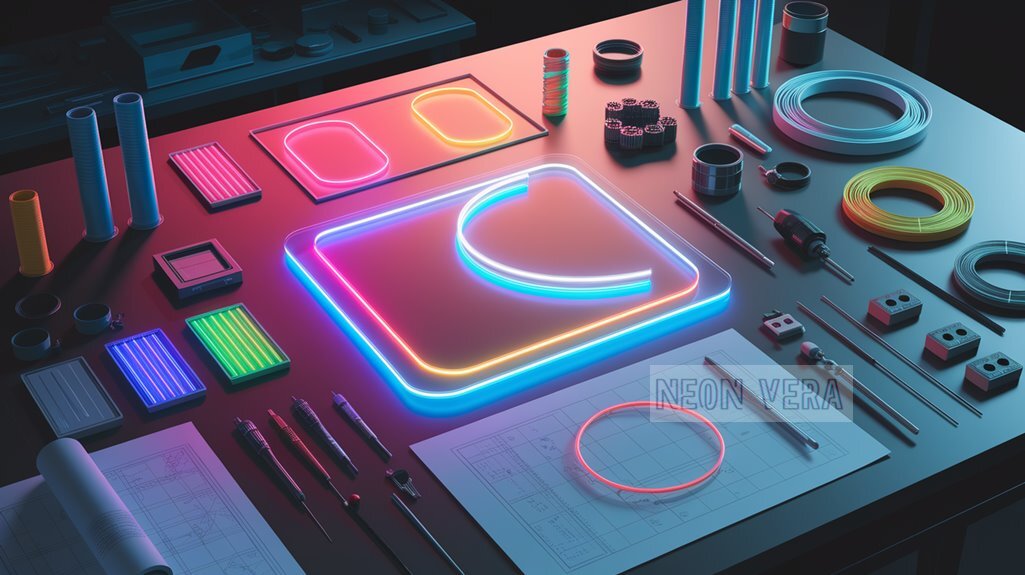
Before starting your DIY neon sign project, you’ll need to gather the right tools and materials. The essential equipment includes LED neon flex strips, wire cutters, a measuring tape, mounting brackets, and a power adapter.
You’ll also need scissors, electrical tape, and a pencil for marking your design.
To create complex designs, gather needle-nose pliers, a drill with bits, and wall anchors for mounting. A wire stripper helps connect electrical parts, while a level ensures straight installation.
Make sure to wear work gloves and safety glasses. Keep silicone adhesive and a caulking gun ready for attaching neon flex strips to your backing material.
Best Materials for DIY Neon Projects (LED vs. Real Neon)
LED neon flex strips are the better DIY choice over traditional glass tubes, offering lower power usage, safer handling, and simpler installation without specialized equipment.
LED strips cost $15-30 per foot, while real neon runs $150-200 per foot, making them far more budget-friendly.
LED strips feature adhesive backing and flexible shaping, unlike real neon which needs professional bending and mounting techniques.
The durable silicone housing of LED strips protects against damage, whereas glass neon tubes can easily break.
Though real neon produces intense light, modern LED strips match that brightness while offering customizable colors and remote-controlled options.
DIY Neon Sign Ideas for Events (Weddings, Birthdays, etc.)
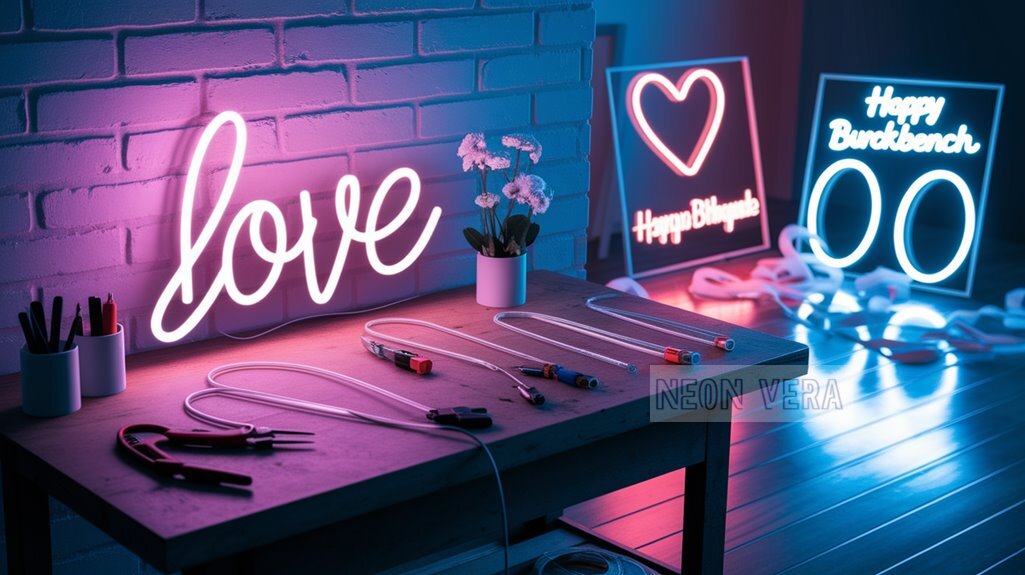
Whether you’re planning a special celebration or intimate gathering, DIY neon signs can transform any event space into a memorable backdrop.
Create a wedding neon sign featuring the couple’s names, wedding date, or romantic phrases like “Better Together” or “Forever Starts Here.” For milestone birthdays, craft a custom display with the guest of honor’s name, age, or a meaningful message.
Popular neon designs include phrases like “Happily Ever After,” “Party Time,” “Sweet Dreams,” or “Love Always Wins.”
Mount your neon creation on a clear acrylic backing for a floating effect, or frame it with artificial greenery for an organic touch.
Position your sign near the dance floor, dessert table, or photo booth to elevate the space and set the mood.
How to Design Your Own Custom Neon Text
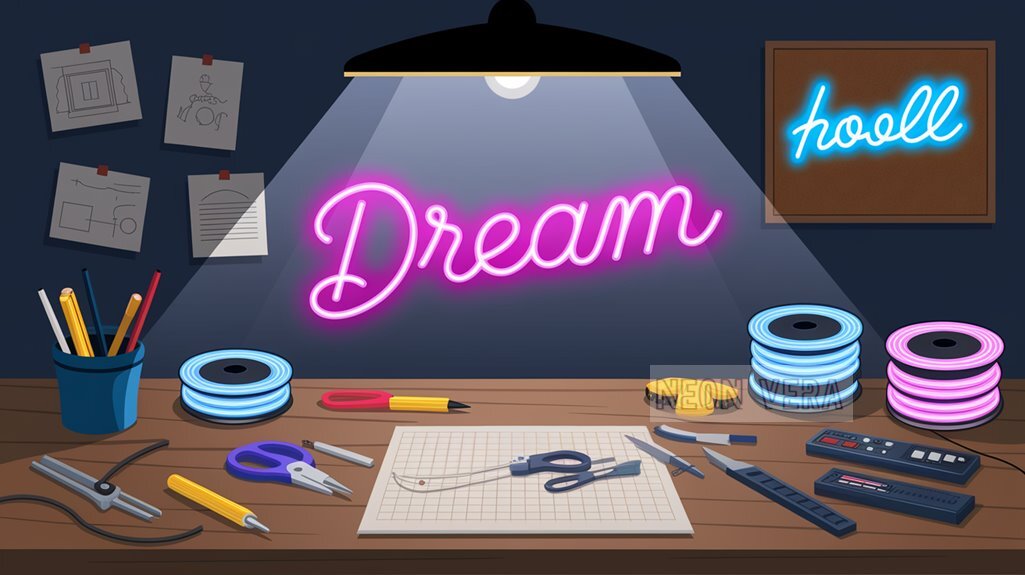
Creating your own neon text design starts with three key elements: font selection, color choice, and layout composition.
When choosing your font, opt for simple, flowing scripts or clean block letters that work well in neon tubing. Complex or disconnected fonts will cause construction problems.
Select colors thoughtfully – neon demands bright, bold shades that stand out against darker backgrounds. Pink, blue, and white remain classic options for maximum visibility. Stick to two or three colors to keep your design balanced.
Draft your layout on graph paper to ensure natural text flow and proper letter spacing. Factor in mounting points and power connections.
Measure your installation space precisely to determine the perfect size for your neon piece.
Common Mistakes to Avoid in DIY Neon Builds
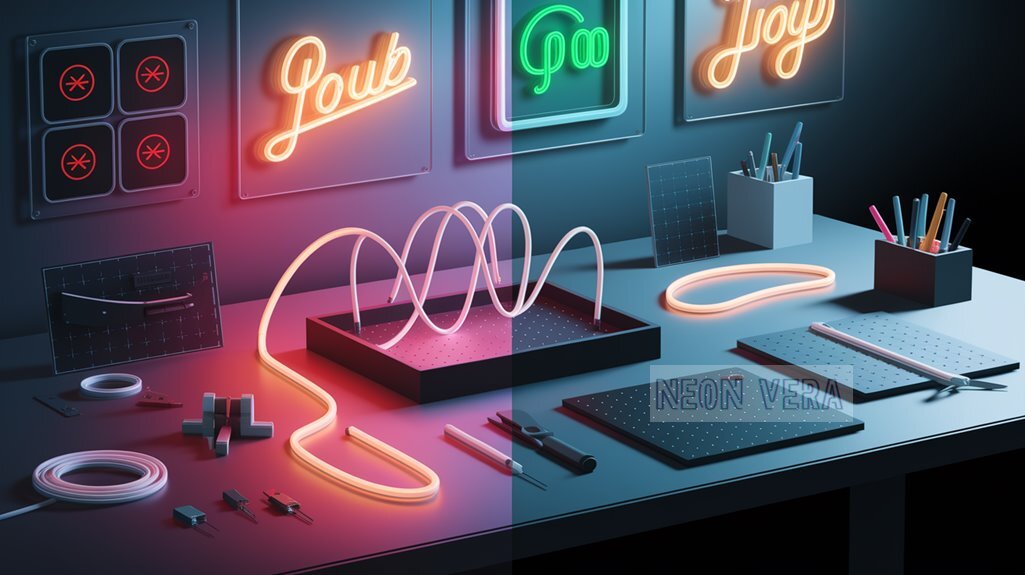
While designing your neon sign sets the foundation, the building process can present unexpected challenges for DIY enthusiasts. Poor planning often leads to color mistakes and design flaws that diminish your sign’s visual impact.
Don’t underestimate the importance of proper circuit connections – faulty wiring can cause flickering, dimming, or complete failure of your sign.
Be careful not to skip safety measures like proper insulation and ground fault protection. Many beginners mount signs near flammable materials or leave components loose.
Remember to test your connections thoroughly before permanent installation and never attempt to bend real glass tubing without proper training. Instead, consider LED neon alternatives for your first projects.
Tips & Safety for DIY Projects
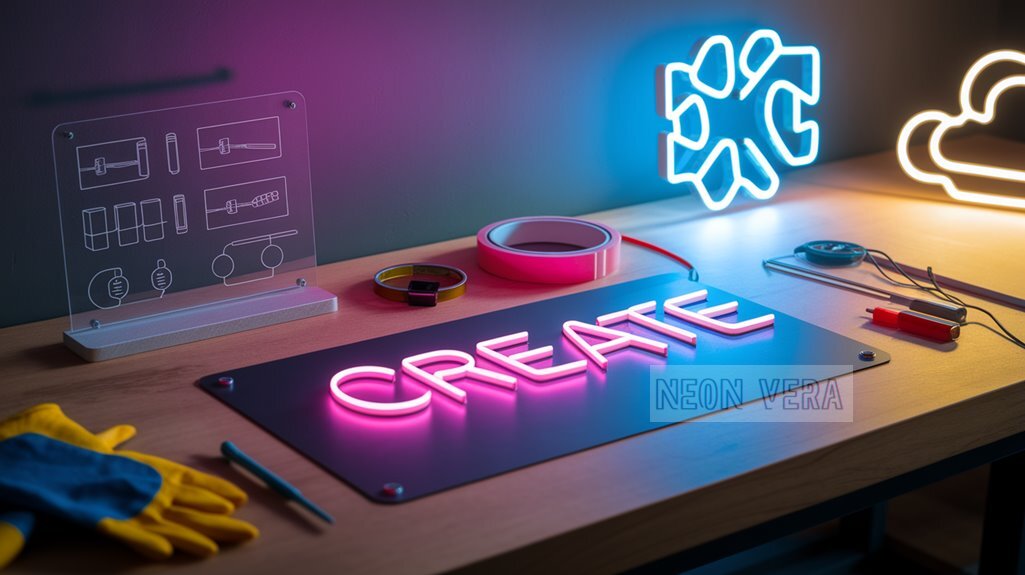
Before starting any DIY neon project, prioritize safety and proper preparation. Always wear protective gloves and safety glasses when handling glass tubes or electrical components. Keep your workspace well-ventilated and clear of any flammable materials.
Make sure all electrical connections are properly insulated and grounded. Never work on live circuits, and disconnect power before adjustments. Choose transformers that match your project’s specifications and stay within voltage limits.
Store tools and materials in designated areas, with sharp and fragile items separated. Keep a fire extinguisher within reach and learn its proper use.
When in doubt about safety measures or electrical work, seek professional guidance.
Conclusion
You’re all set to make a custom neon sign that adds vibrant light to any room.
Pick between LED rope lights or traditional neon tubing, and prioritize safety throughout the project.
Measure twice and verify all connections before testing your creation.
These tools and techniques will help you design a one-of-a-kind neon masterpiece.

